

I designed my echo-matic panel in the style of the Univox EC model tape delays

Here's my setup: 1/4" instrument input and output, and RCA I/O's to connect to the tape recorder. I'm using a Marantz PMD221. I modified this machine slightly by adding a second pitch control. That's what that little knob at the top right corner of the marantz unit is. This knob adjusts the pitch drastically for slower delay effects.

This surprisingly simple circuit turns any 3 head tape recorder into an awesome sounding tape delay machine. The tape recorder has to be a three head unit (erase head, record head, and play head) for it to work. This type of recorder will have a button or switch that allows you to listen to the source audio, or what has just been recorded to the tape. The small gap between the record head and the play head creates the delay effect. I'm a novice when it comes to circuit design, but the schematic just looks like four buffers and some pots to mix the different signals together.
Here's the original literature for the echo-matic:
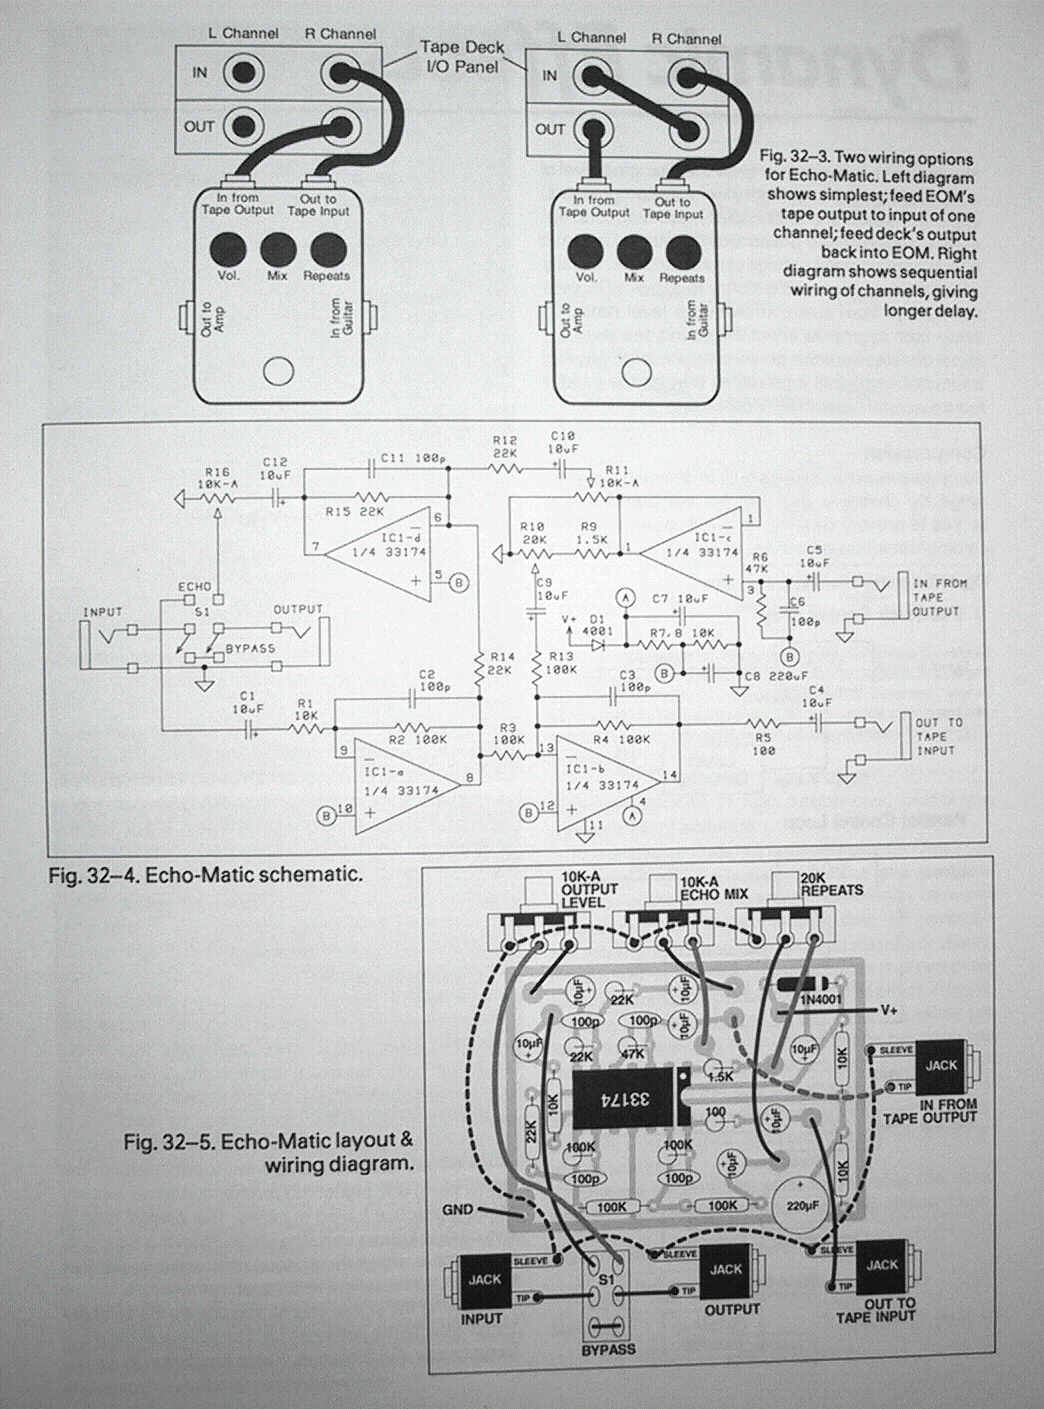
And here's a layout I redrew from the above article. It's 600dpi and the image is reversed for photosensitive boards.

Echo-Matic PCB Layout PDF Version For easy printing!

Gutz! :]
Per request:
Here's some additional photos and info about the mod I made on my PMD221.

Per request:
Here's some additional photos and info about the mod I made on my PMD221.

The Pitch knob had a 1.2K resistor in series with it. All I did was desolder one pin of that resistor and replace it with a 1k pot. In the picture above you can see the wires running from that circuit board to the 1K pot attached to the battery compartment door. With this mod, I can get the delay times to somewhere around 500ms before the tape drive stalls out and stops.

A closeup of the solder points

I don't run this unit on batteries so sticking the pot in the battery compartment seemed like the best place to for it.