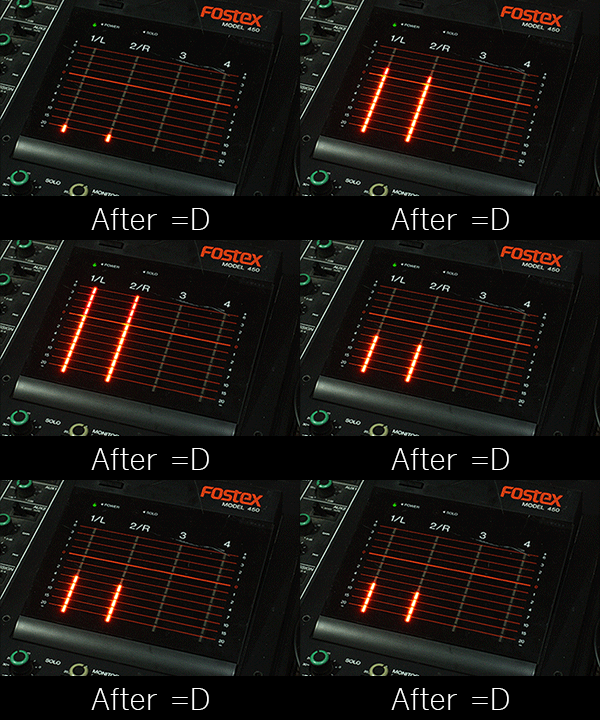

I recently picked up a Fostex-R8 eight track reel-to-reel recorder, and then snagged one of these Fostex 450 mixers to go with it. The mixer worked great except for the LED VU meters. most of the LED's appeared dead like in the above 'before' GIF. Lurking around the internet, in forums, and message boards, I came to realize this is a common problem with these machines. Luckily my R8's LED's are all working fine. I believe the VU meter boards are all very similar between the various Fostex mixers and reel-to-reels. So, this little tutorial might help out anyone with one or more of these machines. With patience and a steady hand, you too can have all new fully functional VU meters!
I had to use a blade to get the plastic piece off. The piece has four small dowels that fit through the PCB and bevel out to hold it on. I just cut the bevel off to release it. Now I can see the teeny tiny LED's.
Here's a closeup of the fragile micro LED's. Like .1mm squares with a single hair wire attached to the top of them. No wonder these things fail! With a small point soldering Iron I removed all the old diodes.
And here's the replacements! Modern 0603 surface mount LED's. These are similar in design except they are encased in an epoxy or resin. This protects the hair wire from braking. If you've ever solder SMD components you probably know extra Flux is important and very helpful. I used flux to help tin the trace pads and hold the LED's in place while soldering.
Here's one finished board. The plastic diffuser piece fits right back over the new LED's, and the PCB snaps right back into place. I'm not going to lie, it's a tedious job, but once your done you'll have fully functional beautiful bright new VU meters. They should last a good long while too. I hope this helps some people out! Feel free to contact me if you have any questions.
cheers,
Addendum:
If anyone has dead LED's and isn't comfortable doing this procedure themselves I might offer a repair service in the future. Ideally you'd be able to remove the VU boards yourself, and mail them to me instead of the whole machine. I haven't worked out prices, but it would be reasonable (cost of materials and time).


